Introduction
A well-organized pantry saves you time, money, and stress. No more buying duplicate cans because you couldn't see what was in the back. No more expired food hidden behind the cereal boxes. No more staring at a chaotic mess and wondering where to start.
I've organized dozens of pantries for friends and family, and I've learned what works (and what doesn't). Here's my step-by-step guide to pantry organization that actually lasts.
Step 1: Empty Everything Out
Yes, everything. Take every single item out of your pantry and put it on your kitchen table or counter. This is the only way to see exactly what you have and what you're working with.
While you're at it, check expiration dates. Be honest — how many half-eaten boxes of cereal or expired cans are hiding in there? Toss anything that's expired or that you know you'll never use.
Pro tip: Take a "before" photo. You'll love comparing it to the after.
Step 2: Sort into Categories
Group similar items together:
- Baking supplies (flour, sugar, chocolate chips, vanilla)
- Canned goods (beans, tomatoes, soup, tuna)
- Pasta and rice
- Snacks (chips, crackers, granola bars)
- Breakfast foods (cereal, oatmeal, pancake mix)
- Spices and seasonings
- Condiments and sauces
- Drinks (juice boxes, soda, tea)
- Pet food (if you store it in the pantry)
This will help you see how much space each category needs and where it makes sense to put things.
Step 3: Measure Your Space
Before you buy any organizers, measure your shelves. How tall are they? How deep? How wide?
There's nothing worse than buying a set of canisters only to find out they're too tall for your shelves. Save yourself the return trip and measure first.
Step 4: Choose the Right Organizers
Must-Haves
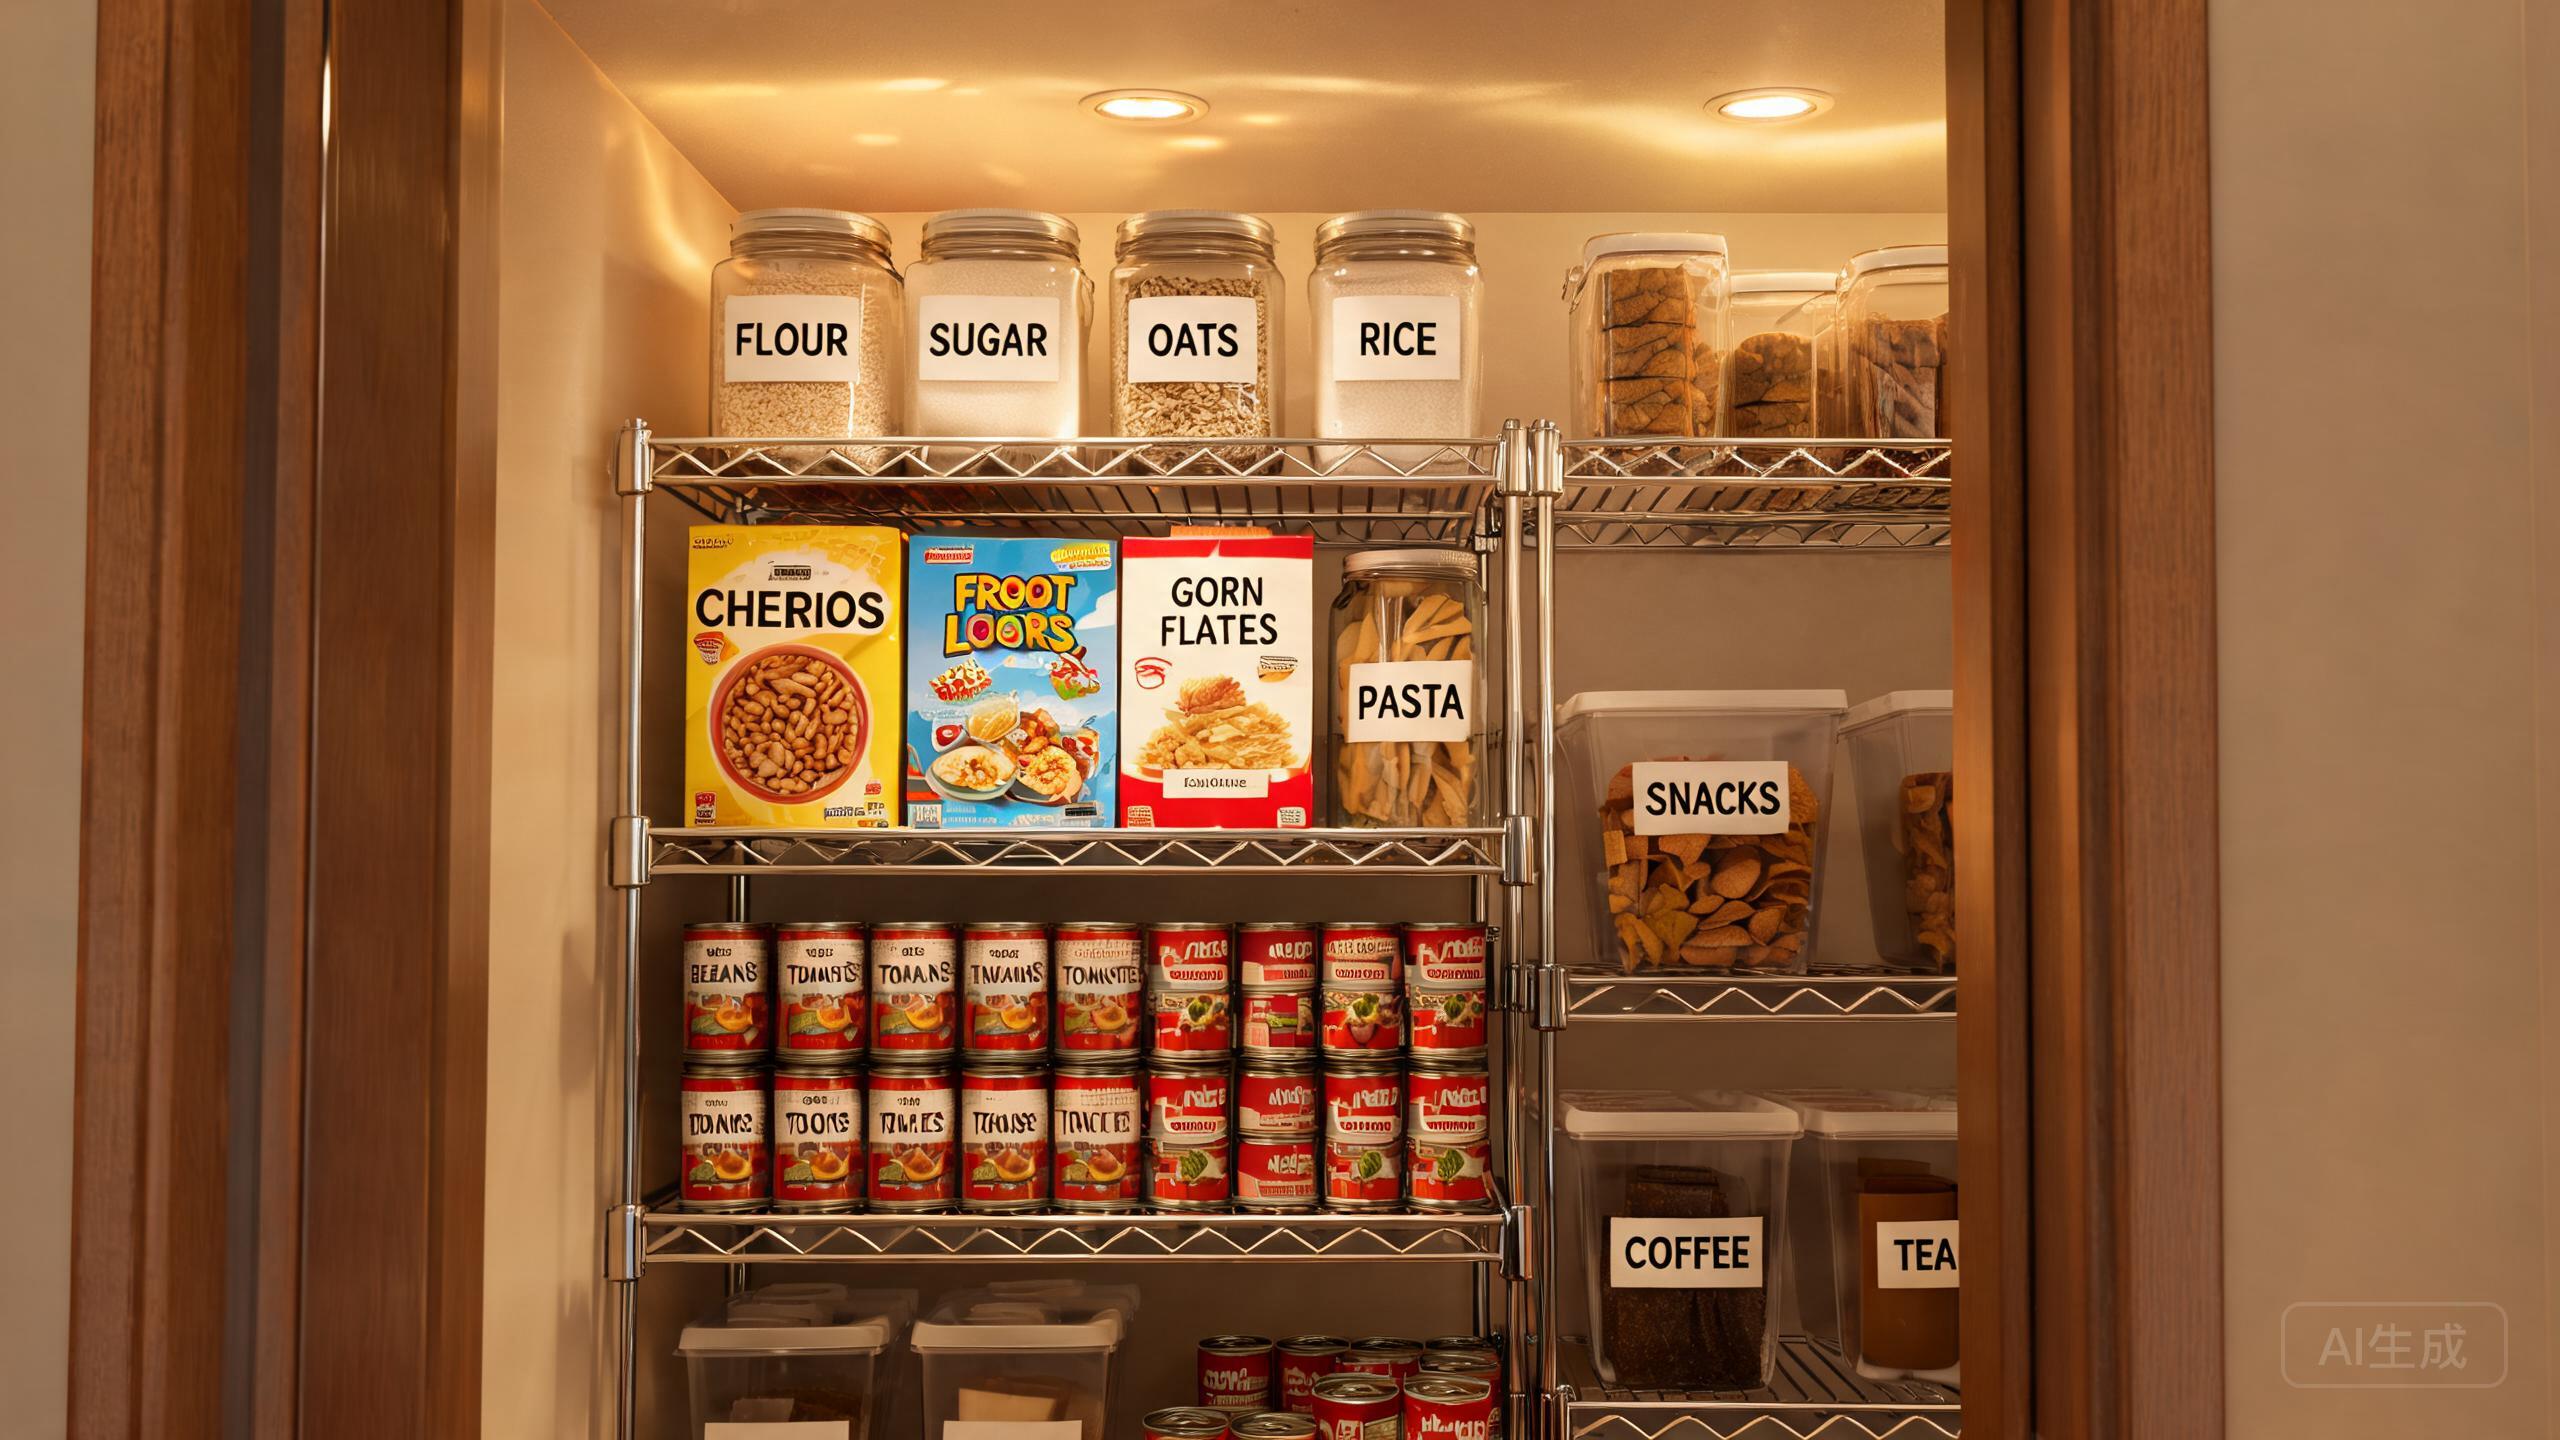
Clear Canisters for Dry Goods Flour, sugar, rice, pasta — decant them into clear airtight canisters. Not only does it look better, but it keeps food fresh longer and lets you see exactly how much you have left.
I recommend these sizes for most pantries:
- 2 large (16 cups) for flour and sugar
- 2 medium (10 cups) for rice and pasta
- 3-4 small (4 cups) for nuts, chocolate chips, etc.
Lazy Susan for Corner Shelves If you have corner shelves, a lazy susan is a game-changer. No more digging around in the back trying to reach the vinegar. Spin it and grab what you need.
Tiered Shelves for Cans Tiered shelves let you see all your cans at once instead of stacking them where you can only see the front row. No more forgotten cans expiring at the back.
Baskets for Snacks Use baskets or bins for snacks, packets, and other miscellaneous items. It keeps things contained and makes it easy to pull everything out at once.
Nice-to-Haves
- Wall-mounted spice rack — frees up shelf space
- Can rack — stores cans horizontally for easy access
- Door organizer — adds extra storage for small items
- Label maker — makes everything look professional
Step 5: Put It Back Strategically
Now the fun part — putting everything back in an organized way.
Put items you use most at eye level. The cereal you eat every morning? Front and center. The fancy olive oil you use once a month? Higher up or in the back.
Group categories together. Keep all baking supplies on one shelf, all canned goods on another. This makes it easy to find what you're looking for and put things away correctly.
Use the "first in, first out" rule. When you buy new food, put it behind the older food. This way you use the older stuff first and nothing expires.
Label everything. Seriously — labels help everyone in the house know where things go. No more "I didn't know where to put it" excuses.
Step 6: Maintain It
An organized pantry isn't a one-time project — it needs regular maintenance. But if you set it up right, maintenance only takes 5-10 minutes a week.
- Do a quick tidy once a week. Every Sunday, spend 5 minutes straightening up the pantry. Put things back in their proper places, check what's running low, and toss anything expired.
- Wipe shelves every month. Crumbs happen. A quick monthly wipe-down keeps things clean.
- Reassess every 3 months. Do you actually use that pasta maker? Is the snack basket overflowing? Adjust as needed.
Budget-Friendly Tips
You don't need to spend a fortune to organize your pantry:
- Repurpose containers — mason jars, cereal containers, and even clean tin cans work great
- Shop at dollar stores — baskets, bins, and organizers are often cheaper there
- Use what you already have — before buying anything, see if you can rearrange what you own
- Start small — organize one shelf at a time instead of trying to do everything at once
Final Thoughts
Pantry organization isn't about having a perfect Instagram-worthy space. It's about having a pantry that works for your family — one where you can find what you need quickly, waste less food, and save money by not buying duplicates.
Start small. Empty one shelf. Sort what's there. Put it back in a way that makes sense. Build from there. Before you know it, you'll have the organized pantry you've always wanted.